
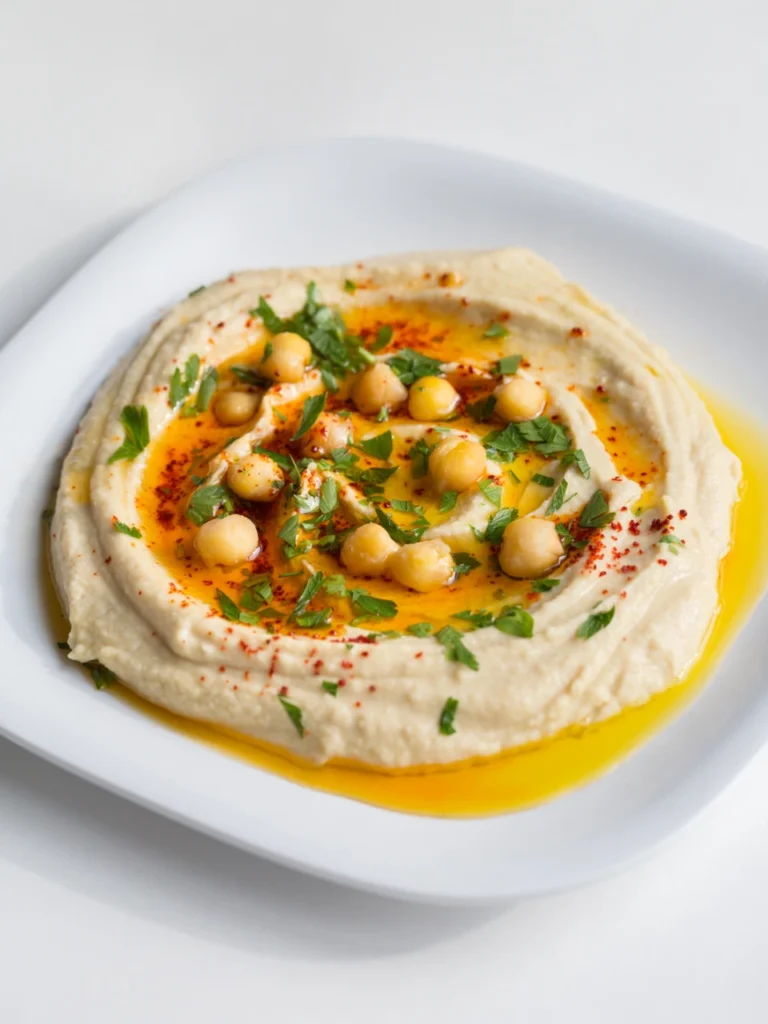

Looking for a dip that’s rich, creamy, and packed with flavor? Creamy Homemade Hummus is the answer! This Mediterranean classic can be enjoyed as a spread, dip, or even a side. Made with wholesome, simple ingredients, hummus is perfect for any occasion and adds a nourishing twist to your snacks and meals.
What Makes This Hummus Recipe So Special?
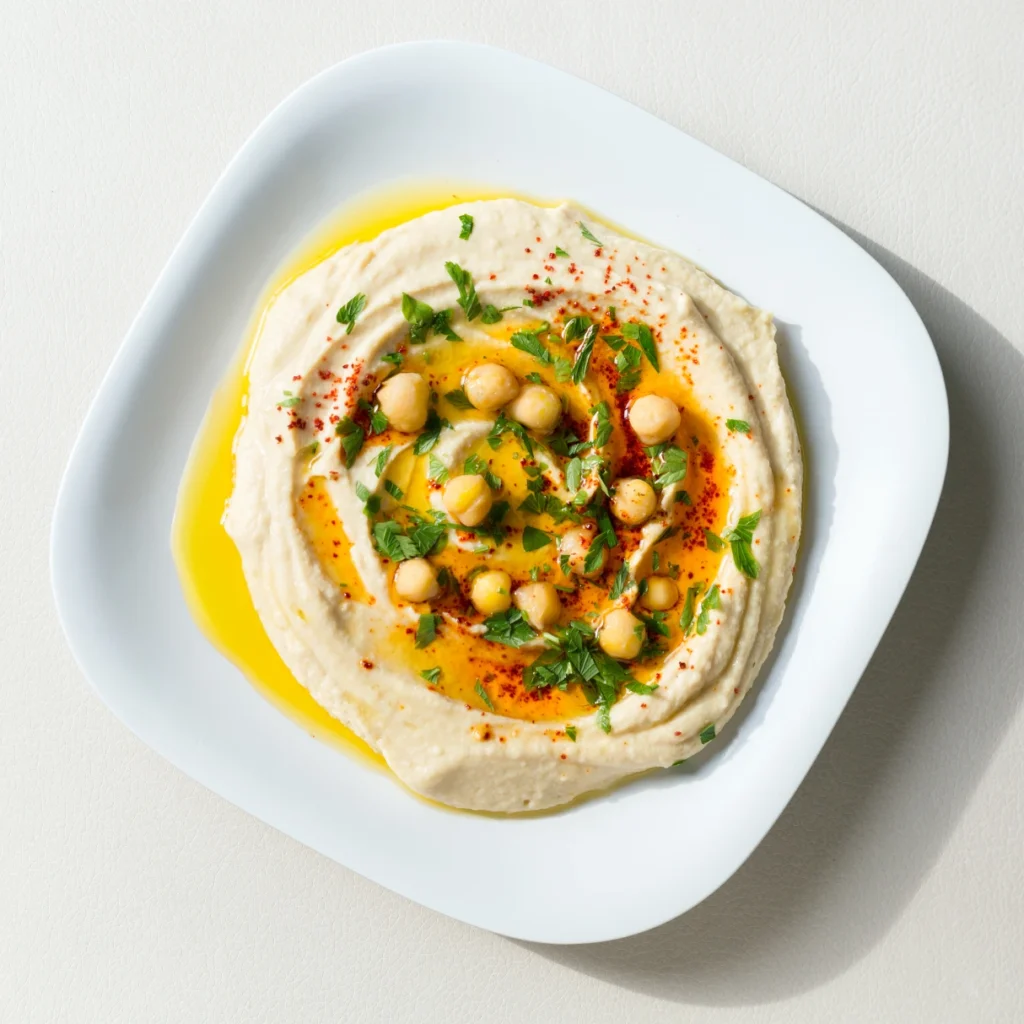
If you’ve had store-bought hummus, you know it can sometimes be too dense, or even too bland. Making it at home, though, lets you control the texture and flavor, resulting in a hummus that’s smooth, creamy, and seasoned to your liking. The best part? It’s quick and easy to make, even for beginners!
Ingredients You’ll Need for the Creamy Homemade Hummus
This hummus recipe requires only a few staple ingredients, many of which are probably already in your pantry:
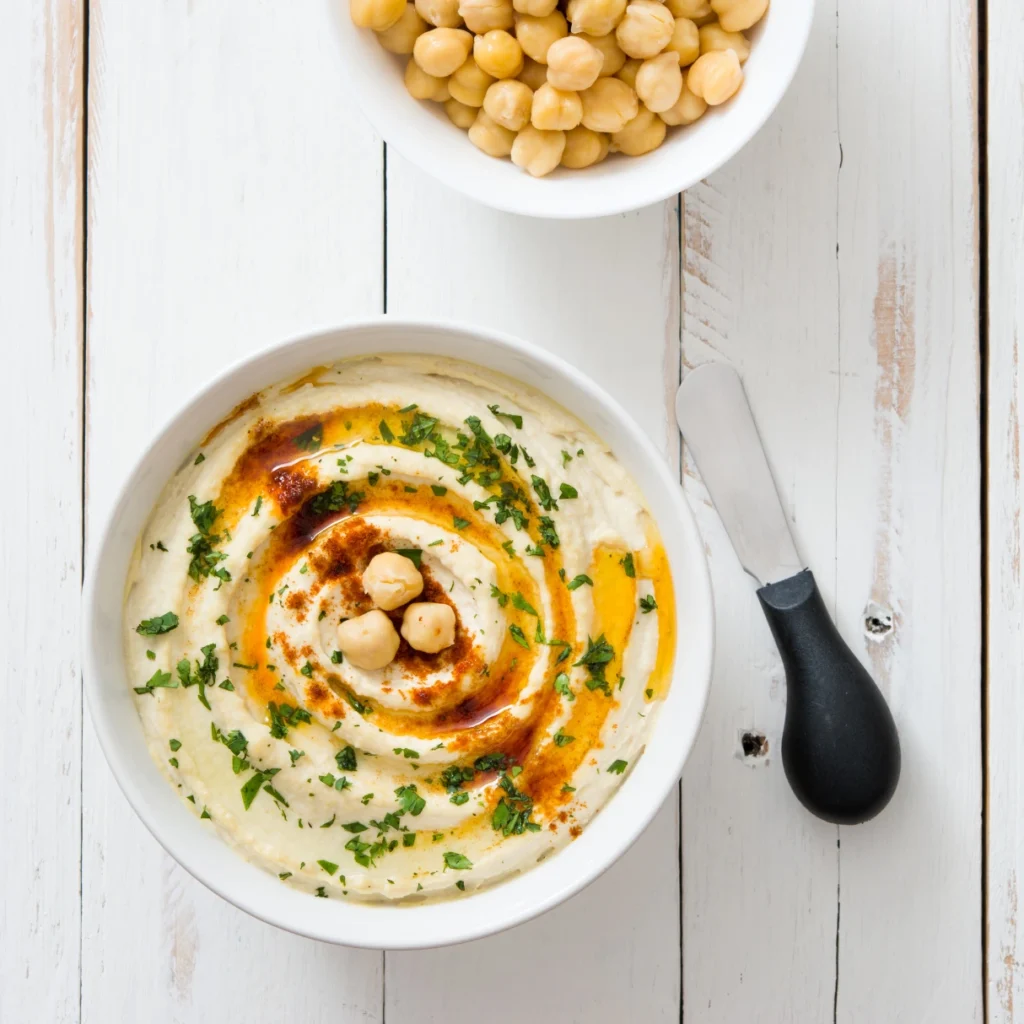
- 1 can of chickpeas (or 1 ½ cups cooked chickpeas)
- ¼ cup tahini (for that authentic nutty flavor)
- 2-3 tbsp extra virgin olive oil (plus more for garnish)
- 1 clove garlic (or adjust to your taste)
- Juice of 1 lemon (freshly squeezed for brightness)
- Salt to taste
- Water (as needed, to reach your desired consistency)
- Optional Garnishes: Smoked paprika, fresh parsley, and a drizzle of olive oil
Step-by-Step Guide
Step 1: Prep Your Chickpeas
- Peel for Extra Creaminess: For the smoothest hummus, consider peeling the chickpeas. It’s a bit of extra effort but worth it! Simply pinch each chickpea, and the skin should slip off easily. If you’re short on time, though, you can skip this step.
Step 2: Blend the Base
- Add Ingredients to the Blender: Combine the chickpeas, tahini, olive oil, garlic, and lemon juice in a food processor or blender. Begin blending, and add water gradually until you reach a creamy texture. Don’t worry if it looks a bit thick at first; you can adjust the consistency as you go.
Step 3: Adjust the Seasoning and Texture
- Optional Step: For an extra silky finish, let the hummus blend for another 1-2 minutes. This extra blending time helps achieve that velvety texture that makes homemade hummus irresistible.
- Season to Taste: Add salt to taste, and blend again. If the hummus is too thick, continue adding small amounts of water until it reaches the ideal smoothness.
Tips for the Perfect Creamy Homemade Hummus
- Let It Sit: If possible, let your hummus rest for 30 minutes after blending. This helps the flavors meld, making it even more delicious.
- Use Ice Water: Adding a few ice cubes or cold water while blending gives the hummus an ultra-creamy consistency.
- Adjust Lemon and Garlic: Depending on your flavor preference, you can increase or decrease the lemon and garlic. Start small, then taste and adjust.
Creative Ways to Serve and Enjoy
While hummus is delicious on its own, there are plenty of ways to make it even more exciting:
- Get Creative: Use hummus as a base for Mediterranean bowls, or add a dollop to your salads for a protein boost.
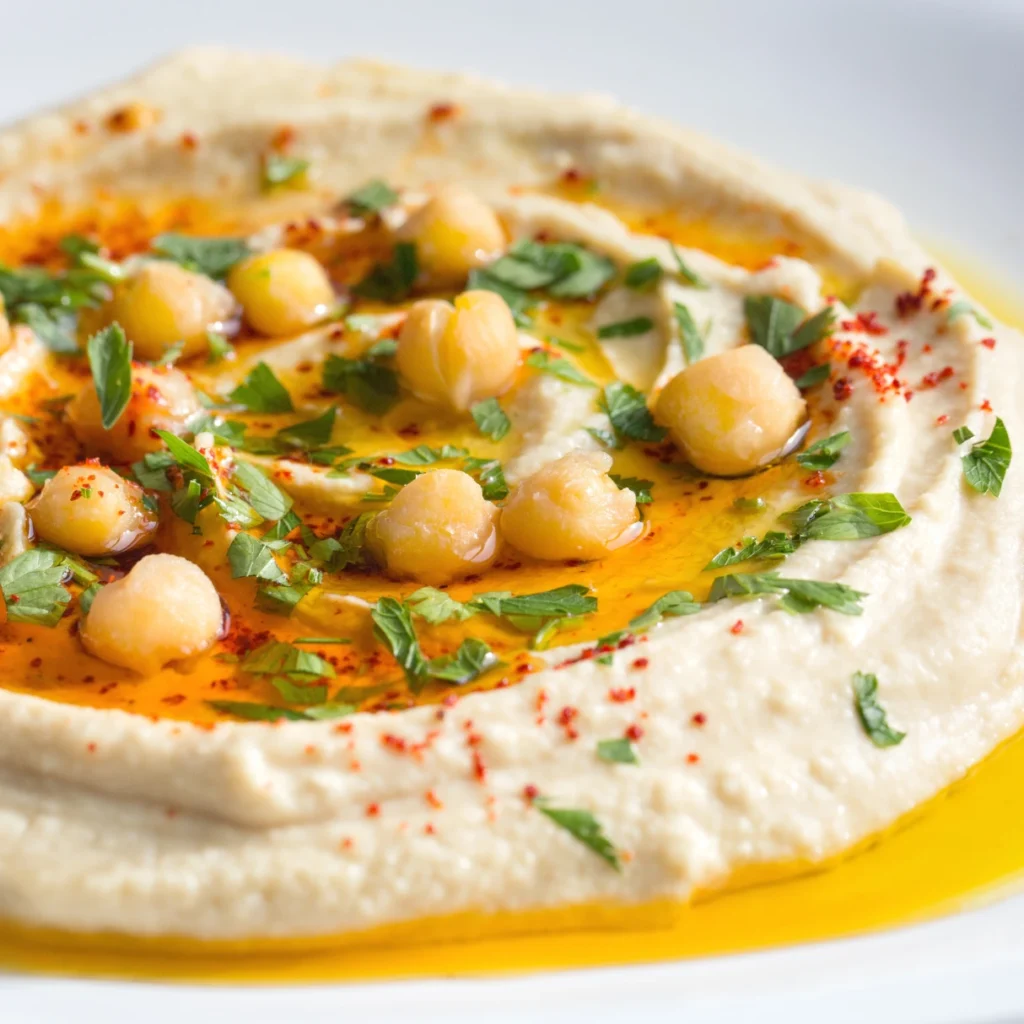
- Top with Garnishes: A sprinkle of smoked paprika, a drizzle of olive oil, and fresh parsley take your hummus to the next level.
- Pair with Pita or Fresh Veggies: Serve it with warm pita, crunchy veggies like cucumber and bell pepper, or even as a spread on wraps and sandwiches.
How to Store Leftover
- Freezing: Yes, you can freeze it! Just portion it out and store it in freezer-safe containers for up to a month. Thaw it in the fridge overnight, and give it a good stir before serving.
- Refrigeration: Store leftover hummus in an airtight container in the refrigerator for up to 4-5 days. To keep it fresh, drizzle a little olive oil on top before storing.
Creamy Homemade Hummus
Description
Homemade hummus is not only fresher and more flavorful, but it’s also easy to customize. You get to control the ingredients, adjust the flavors, and achieve that creamy, rich consistency that’s perfect for dipping, spreading, and everything in between. Once you try this recipe, you may never go back to store-bought hummus!
Ingredients
Instructions
-
Step 1: Prep Your Chickpeas
Peel for Extra Creaminess: For the smoothest hummus, consider peeling the chickpeas. It’s a bit of extra effort but worth it! Simply pinch each chickpea, and the skin should slip off easily. If you're short on time, though, you can skip this step.
-
Step 2: Blend the Base
Add Ingredients to the Blender: Combine the chickpeas, tahini, olive oil, garlic, and lemon juice in a food processor or blender. Begin blending, and add water gradually until you reach a creamy texture. Don’t worry if it looks a bit thick at first; you can adjust the consistency as you go.
-
Step 3: Adjust the Seasoning and Texture
Season to Taste: Add salt to taste, and blend again. If the hummus is too thick, continue adding small amounts of water until it reaches the ideal smoothness.
Optional Step: For an extra silky finish, let the hummus blend for another 1-2 minutes. This extra blending time helps achieve that velvety texture that makes homemade hummus irresistible.
Nutrition Facts
Servings 6
- Amount Per Serving
- Calories 170kcal
- % Daily Value *
- Total Fat 8g13%
- Sodium 160mg7%
- Total Carbohydrate 14g5%
- Dietary Fiber 4g16%
- Protein 5g10%
* Percent Daily Values are based on a 2,000 calorie diet. Your daily value may be higher or lower depending on your calorie needs.
Note
For the creamiest texture, consider using ice-cold water or even a few ice cubes while blending. If you prefer a slightly roasted flavor, you can roast the garlic before blending. Customize your hummus with different flavors, such as roasted red pepper, sun-dried tomato, or even a dash of cumin for a spiced version.