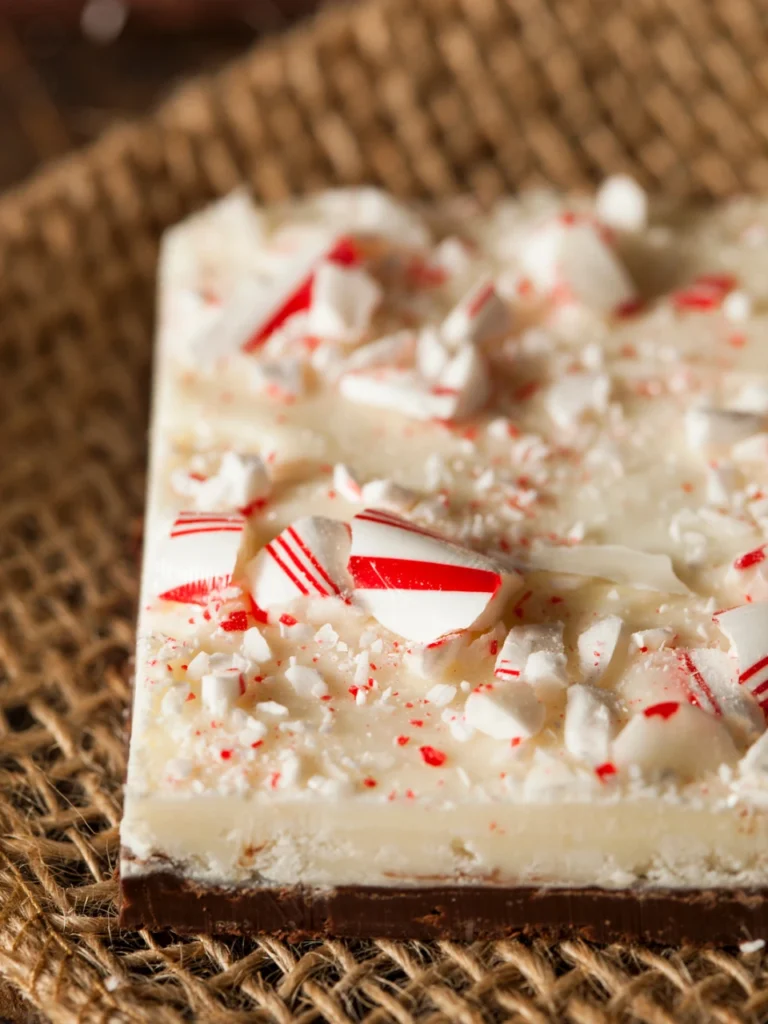
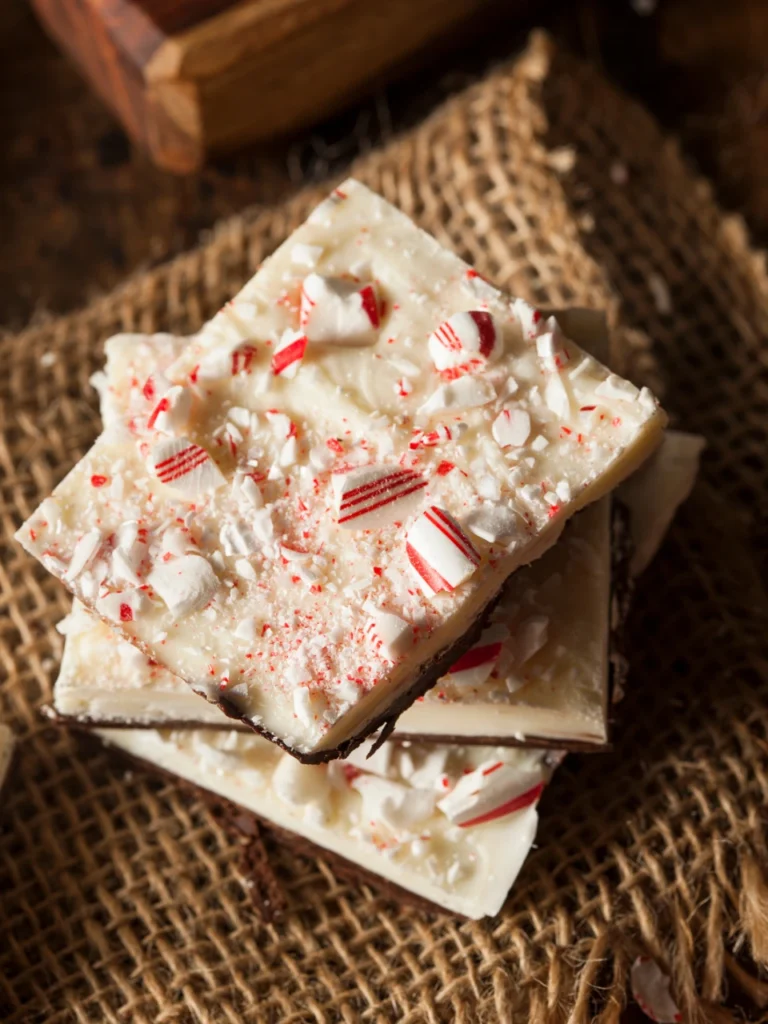
Say goodbye to store-bought peppermint bark! This easy, four-ingredient recipe is all you need to create a stunning holiday treat right in your own kitchen. Homemade Peppermint Bark is not only delicious but also makes for a thoughtful and festive edible gift during the holiday season. Its vibrant layers of dark chocolate, peppermint-infused white chocolate, and a sprinkling of crushed peppermint candies create a visually delightful dessert that’s hard to resist. Even as someone who used to avoid peppermint on chocolate, this recipe has converted me into a full-fledged fan!
If you enjoy crafting edible gifts, you’ll also love my Vegan Gingerbread Cupcakess or learning how to master Chocolate Chip Pumpkin Banana Oatmeal Cookies for professional-level creations.
Why You’ll Love This Recipe
- No Layer Separation: This method ensures the layers stick together, so your dark and white chocolate layers remain beautifully intact, creating a satisfying “snap” with every bite.
- Simple and No-Bake: Don’t be intimidated by how elegant peppermint bark looks—it’s surprisingly easy to make. All you need to do is melt, layer, and chill the chocolate. My step-by-step tips below will help you achieve the perfect finish every time.
- Easily Scaled Up: Whether you’re making gifts for family or preparing for a holiday party, this recipe is simple to multiply. Just double or triple the ingredients and use a larger baking sheet to create enough bark to share.
- High-Quality Ingredients: By making this bark at home, you control the quality. Pure dark chocolate and creamy white chocolate guarantee a delicious, rich flavor in every bite.
- Balanced Peppermint Flavor: The subtle touch of peppermint extract provides a refreshing flavor without overwhelming the chocolate. It creates a perfect harmony between richness and coolness.
- Crunchy Candy Topping: The crushed candy canes or peppermint candies add a fun crunch and an eye-catching festive touch. Best of all, they’re inexpensive and easy to find during the holidays.
- Perfect for Cookie Trays: Peppermint bark fills up any gaps on a holiday cookie platter beautifully. Plus, it stores well, so you can make it ahead of time and keep it fresh for weeks.
What is Tempering Chocolate?
Tempering chocolate involves a specific process of carefully heating and cooling the cocoa butter within the chocolate. This technique ensures the cocoa butter crystals are properly melted and then reformed into a stable and organized structure. The result? A glossy finish, a satisfying “snap,” and a smooth, luxurious melt when you take a bite.There are two main approaches to tempering: a straightforward, beginner-friendly method and a more advanced, precise technique.
What is Peppermint Bark?
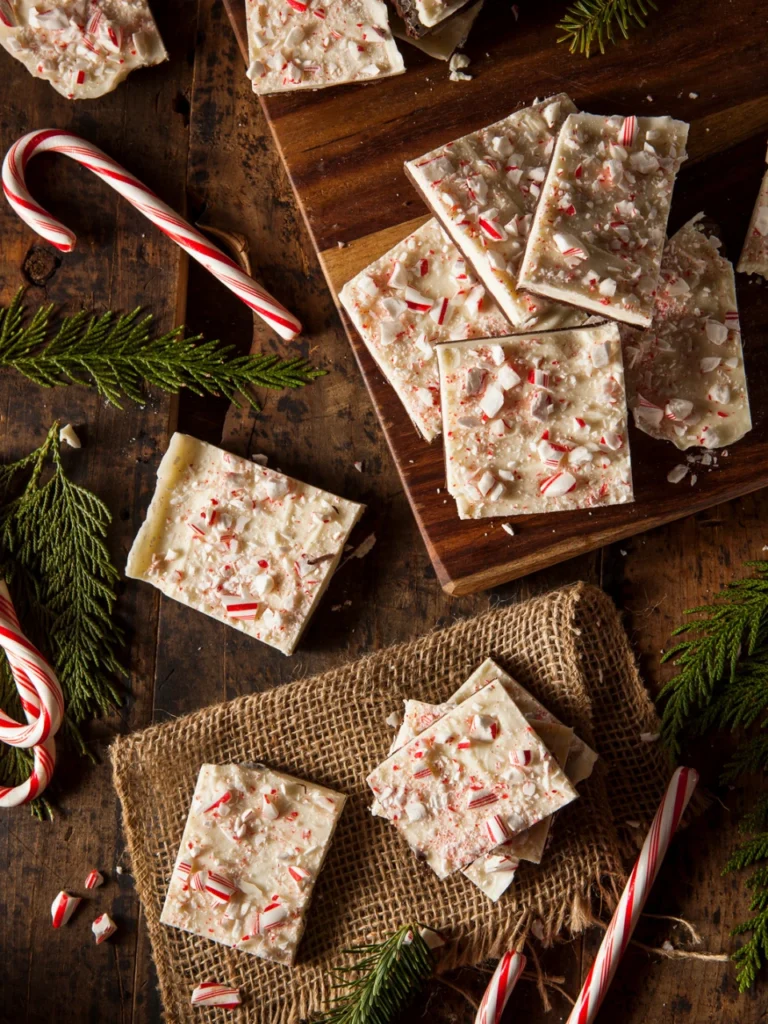
Peppermint bark is a premium confection made by melting chocolate and spreading it into a thin, even layer. It’s then topped with festive ingredients like crushed peppermint candies, nuts, or dried fruits. This versatile treat is a holiday favorite, often shared as a gift due to its beautiful presentation and irresistible flavor.The term “bark” comes from its resemblance to the rough texture of tree bark, though this version is far tastier!
Ingredients for Peppermint Bark
Using the right ingredients is key to achieving that rich, smooth, and satisfying texture that makes peppermint bark so irresistible. Here’s what you’ll need—and what to avoid—for the best results:
While chocolate chips and white chocolate morsels may seem convenient, they aren’t ideal for melting into a smooth bark. Their higher sugar content, lower fat content, and added stabilizers (like cocoa powder or other fats) help them maintain their shape when baked, but prevent them from spreading seamlessly. For instance, when I bake cookies, I prefer chopping real chocolate bars to create pools of melty chocolate in the dough. This principle applies to bark-making, where quality matters most.
- High-Quality Dark Chocolate: Dark chocolate is the star ingredient in peppermint bark, making up the majority of its flavor and texture. For this reason, always opt for high-quality dark chocolate. Couverture chocolate, which has a higher cocoa butter content, melts effortlessly, and sets with a shiny, crisp snap. Choose high quality chocolate bars with 55% to 70% cocoa solids for a balanced flavor. Milk chocolate, as it can be overly sweet when paired with white chocolate.
- Pure White Chocolate: White chocolate plays an essential role in peppermint bark, adding a creamy contrast to the rich dark chocolate. Use pure couverture white chocolate with a high cocoa butter percentage for smooth melting and superior flavor. White candy melts or compound chocolate, as they lack the creaminess and depth of real white chocolate, and the difference in taste will be noticeable.
- Peppermint Candy or Candy Canes: For the signature peppermint crunch, crushed candy canes or peppermint candies work perfectly. These festive candies are easy to find during the holiday season and add a vibrant, decorative touch to your bark. Place the candies in a sealed zip-top bag and gently crush them with a rolling pin or mallet into small, bite-sized pieces that are easy to enjoy.
Essential Tools for Tempering Chocolate
To achieve that glossy, crisp snap of perfectly tempered chocolate, having the right tools and techniques is essential. Here’s what you’ll need to get started:
- Thermometer: Tempering chocolate involves precise temperature control. While you can attempt the process without a thermometer by being extremely cautious not to overheat the chocolate, using one is the most reliable way to ensure success. A thermometer helps you accurately monitor temperatures, not just for chocolate but also for perfectly cooked meats or cakes (e.g., cakes should reach about 90°F for doneness).
- Baking sheet: A large baking sheet provides the surface you’ll need to spread your melted chocolate evenly. A 17×11-inch baking sheet works perfectly for this purpose.
- Parchment Paper: Lining your baking sheet with parchment paper ensures the chocolate won’t stick and makes cleanup a breeze. Pre-cut parchment sheets are especially convenient and save time.
- Small Offset Spatula: To achieve an even layer of chocolate, a small offset spatula is a must-have. It allows you to spread the chocolate smoothly and evenly for professional-looking results.
- High-Quality Chocolate: The chocolate you use will directly impact the final taste and texture, so it’s worth choosing wisely. Couverture chocolate, known for its high cocoa butter content, melts easily and provides a smooth, fluid texture ideal for confectionery. If couverture isn’t available, opt for high-quality dark chocolate.

Step-by-Step Instructions
- Crush the Peppermint: Unwrap your candy canes or peppermint candies and place them in a sealed zip-top bag. Using a rolling pin or meat mallet, crush the candies into small pieces. Set the crushed pieces aside for later.
- Prepare a Double Boiler: Fill a saucepan with about ½ inch of water and bring it to a gentle simmer. Place a heatproof mixing bowl over the saucepan, ensuring the bowl fits snugly without touching the water below. This setup prevents the chocolate from overheating while melting.
- Melt the White Chocolate (Top layer): Add the white chocolate to a medium, heatproof mixing bowl. Stir in the peppermint extract, ensuring all the chocolate is evenly coated. Place the bowl over the simmering water. Stir constantly, moving the melted chocolate from the edges toward the center for even melting. Once 75% of the white chocolate has melted, remove the bowl from the heat and continue stirring until smooth. Set it aside, keeping it warm. Avoid placing the bowl on cold surfaces like granite, as they can cool the chocolate too quickly.
- Melt the Dark Chocolate (Bottom layer): Add the chopped dark chocolate to another heatproof mixing bowl and include the bittersweet chocolate pieces for added depth. Set the bowl over the simmering water and stir constantly to melt the chocolate evenly. Remove the bowl from heat when 75% of the chocolate has melted. Continue stirring off-heat until smooth. Be careful not to let the chocolate exceed 92°F, as this could affect its texture and temper.
- Assemble the Bark: Pour the melted dark chocolate onto a parchment-lined baking sheet and spread it into an even layer about 8×8 inches. Spoon the melted white chocolate over the dark chocolate in a back-and-forth motion, leaving small gaps to let the dark chocolate peek through. Use an offset spatula to spread the white chocolate gently, creating an even surface without fully mixing it into the dark chocolate.
- Swirl for Texture: Using the back of a spoon, create gentle swirls on the surface of the melted chocolate to fuse the two layers slightly. Don’t aim for a perfectly flat layer—the textured grooves and swirls add visual appeal.
- Add Peppermint and Let Set: Sprinkle the crushed peppermint candies over the chocolate while it’s still melted, ensuring they stick well. Let the bark set at room temperature in a cool area for about 2 hours. If your environment is hot or humid, transfer the tray to the refrigerator to set for about 30 minutes.
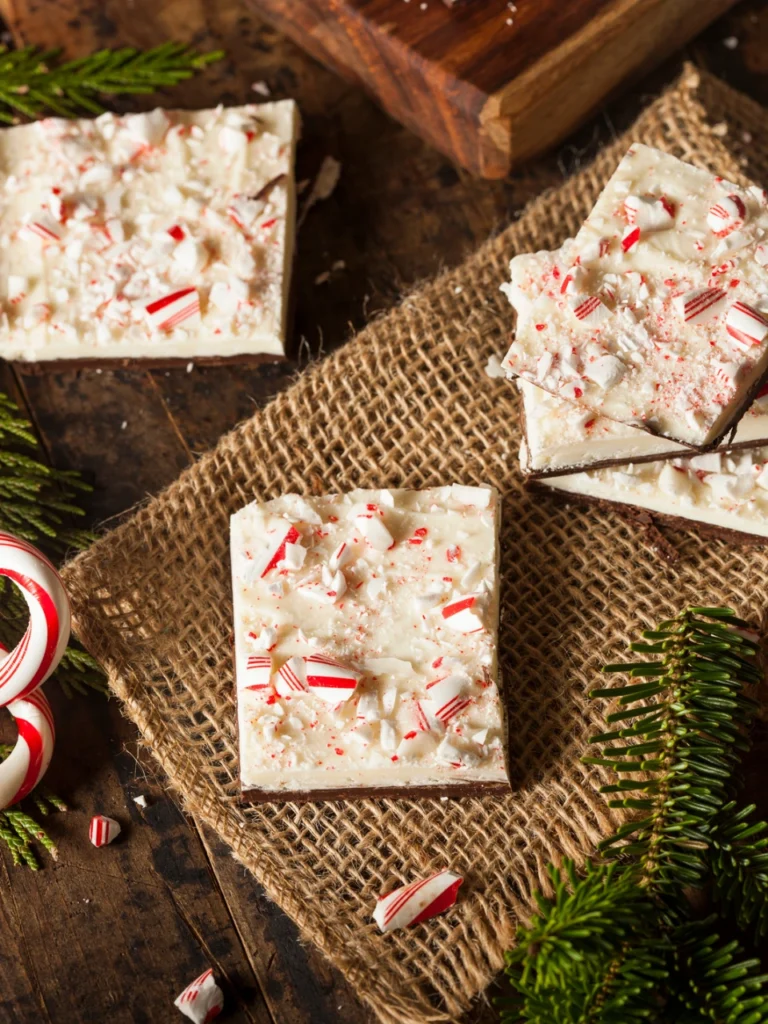
- Break and Store: Once the chocolate has hardened, lift the bark from the parchment paper and break it into pieces by hand for a satisfying snap. Alternatively, cut it into your desired sizes. Store the bark in an airtight container at room temperature in a cool, dry place. If it’s hot or humid, refrigerate it. Properly stored, the peppermint bark will stay fresh for up to 3 weeks.
Expert Tips for Tempering Chocolate
- Avoid Refrigerating Immediately: Don’t rush the setting process by placing chocolate in the fridge unless you’re in a very hot climate. Let the chocolate set at room temperature for about an hour to allow the cocoa butter crystals to form in a stable, organized way. If you must refrigerate, be aware that it might cause “bloom” — the formation of fat or sugar crystals on the chocolate’s surface.
- Choose a Cool, Dry Day: Avoid working with chocolate on hot, humid days. Excess moisture or heat can interfere with the tempering process, leading to a messy result.
- Give Yourself Space: Chocolate-making can get a bit messy, so ensure you have enough room to work comfortably without distractions.
- Use Clean, Dry Utensils: Any particles like lint or sugar on your utensils can disrupt the cocoa butter crystallization. Make sure all tools are clean and completely dry to avoid any moisture that might cause the chocolate to seize.
- Finely Chop the Chocolate: Whether you are using Method 1 or Method 3 for tempering, finely chopping the chocolate ensures even and quick melting, which is essential for smooth, glossy results.


Peppermint Bark Recipe
Description
Make this Easy festive peppermint bark with dark and white chocolate, peppermint extract, and crushed candy canes for a delicious holiday treat!
Ingredients
Instructions
-
Crush the Peppermint: Unwrap your candy canes or peppermint candies and place them in a sealed zip-top bag. Using a rolling pin or meat mallet, crush the candies into small pieces. Set the crushed pieces aside for later.
-
Prepare a Double Boiler: Fill a saucepan with about ½ inch of water and bring it to a gentle simmer. Place a heatproof mixing bowl over the saucepan, ensuring the bowl fits snugly without touching the water below. This setup prevents the chocolate from overheating while melting.
-
Melt the White Chocolate (Top layer): Add the white chocolate to a medium, heatproof mixing bowl. Stir in the peppermint extract, ensuring all the chocolate is evenly coated. Place the bowl over the simmering water. Stir constantly, moving the melted chocolate from the edges toward the center for even melting. Once 75% of the white chocolate has melted, remove the bowl from the heat and continue stirring until smooth. Set it aside, keeping it warm. Avoid placing the bowl on cold surfaces like granite, as they can cool the chocolate too quickly.
-
Melt the Dark Chocolate (Bottom layer): Add the chopped dark chocolate to another heatproof mixing bowl and include the bittersweet chocolate pieces for added depth. Set the bowl over the simmering water and stir constantly to melt the chocolate evenly. Remove the bowl from heat when 75% of the chocolate has melted. Continue stirring off-heat until smooth. Be careful not to let the chocolate exceed 92°F, as this could affect its texture and temper.
-
Assemble the Bark: Pour the melted dark chocolate onto a parchment-lined baking sheet and spread it into an even layer about 8×8 inches. Spoon the melted white chocolate over the dark chocolate in a back-and-forth motion, leaving small gaps to let the dark chocolate peek through. Use an offset spatula to spread the white chocolate gently, creating an even surface without fully mixing it into the dark chocolate.
-
Swirl for Texture: Using the back of a spoon, create gentle swirls on the surface of the melted chocolate to fuse the two layers slightly. Don’t aim for a perfectly flat layer—the textured grooves and swirls add visual appeal.
-
Add Peppermint and Let Set: Sprinkle the crushed peppermint candies over the chocolate while it’s still melted, ensuring they stick well. Let the bark set at room temperature in a cool area for about 2 hours. If your environment is hot or humid, transfer the tray to the refrigerator to set for about 30 minutes.
-
Break and Store: Once the chocolate has hardened, lift the bark from the parchment paper and break it into pieces by hand for a satisfying snap. Alternatively, cut it into your desired sizes. Store the bark in an airtight container at room temperature in a cool, dry place. If it’s hot or humid, refrigerate it. Properly stored, the peppermint bark will stay fresh for up to 3 weeks.


